Part 30: Baaz Island
Update 30: Baaz Island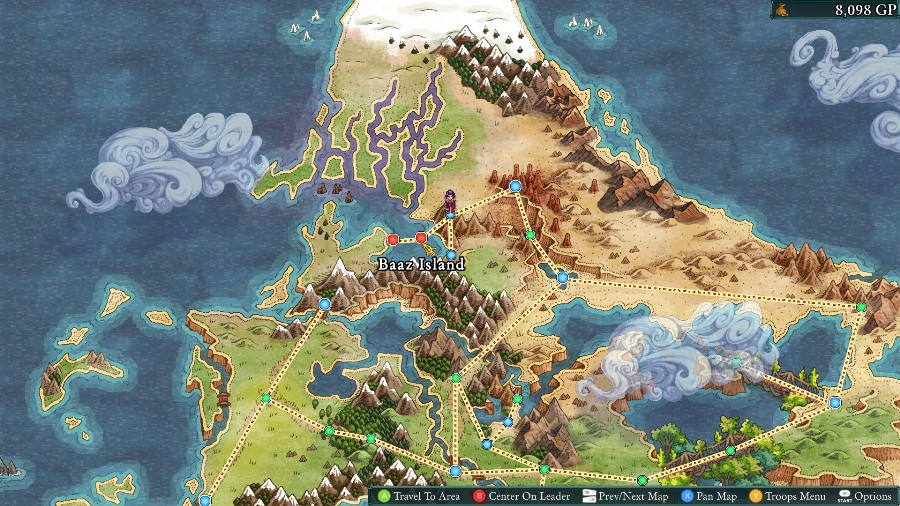
Welcome back! Last time we escaped from the caves and raised a Temple from the depths. This time we’ll be proceeding towards said Temple.
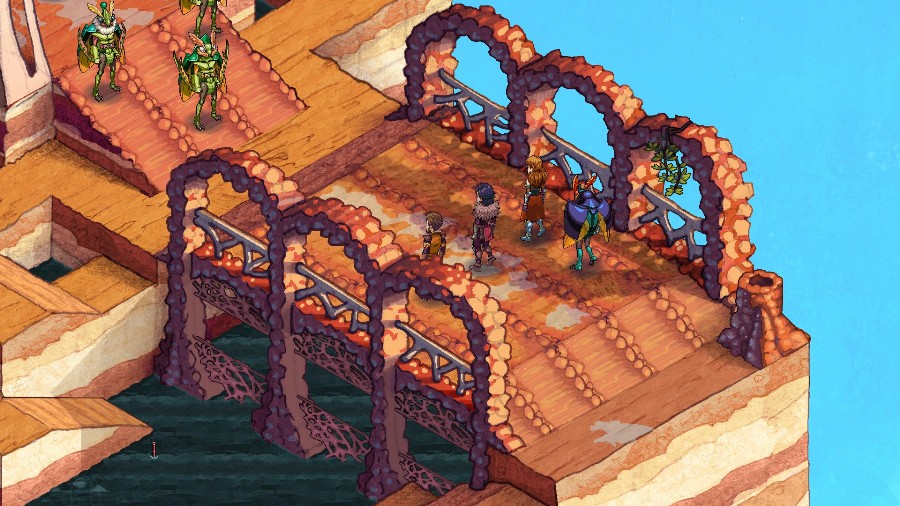
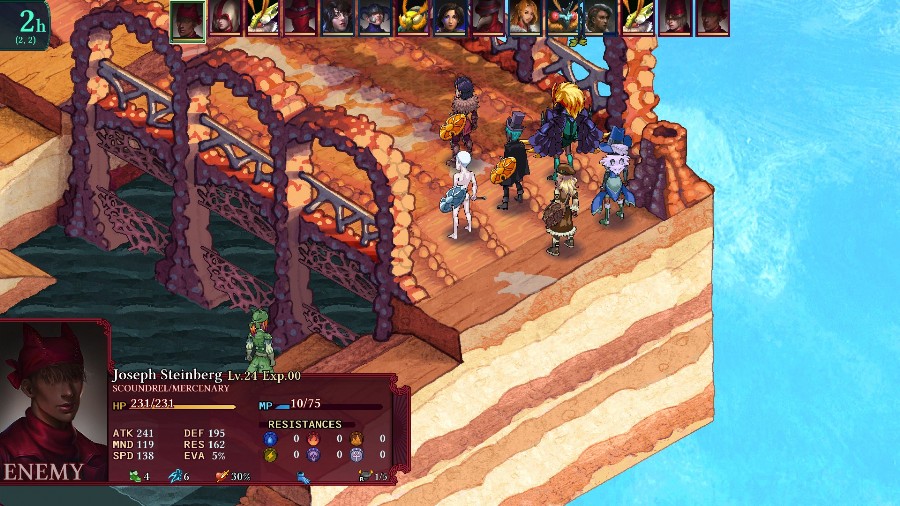
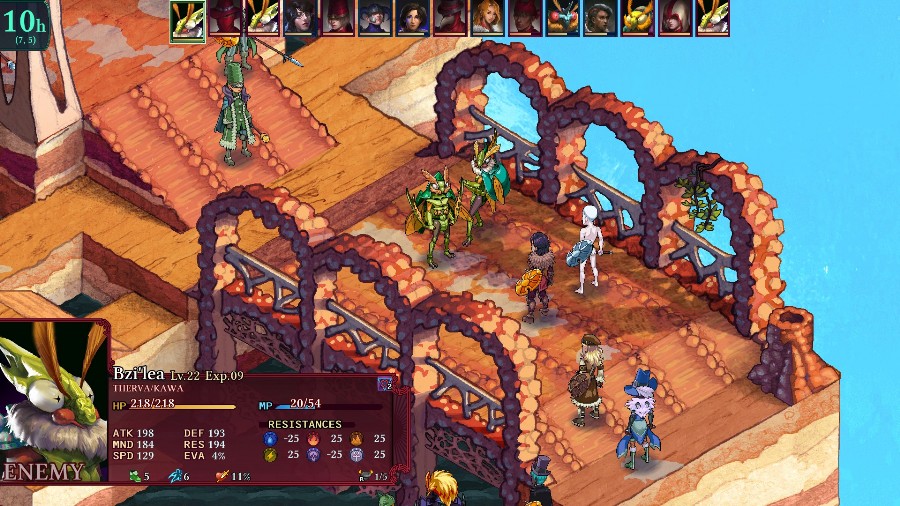
Our party approaches a group of Bzil blocking our path.
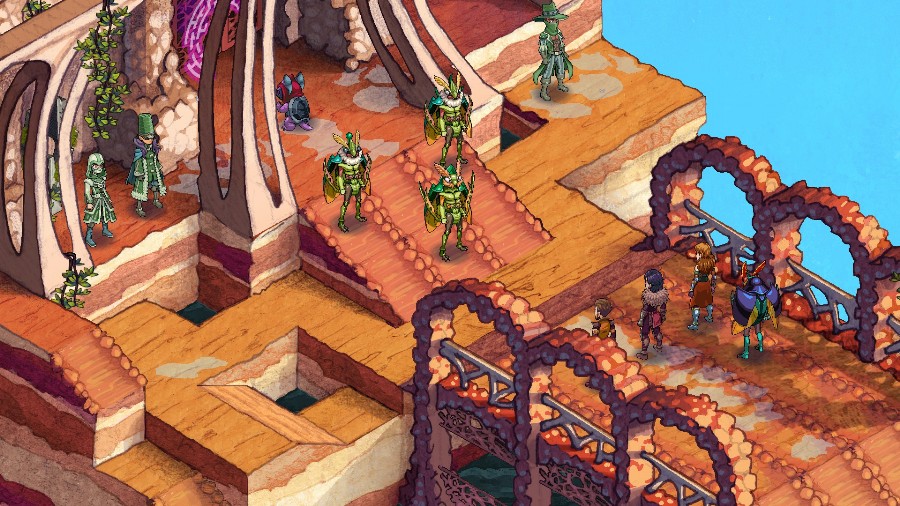
Behind them, we see a bunch more people as well as the mysterious Kawa that we saw leaving the Jungle Temple.
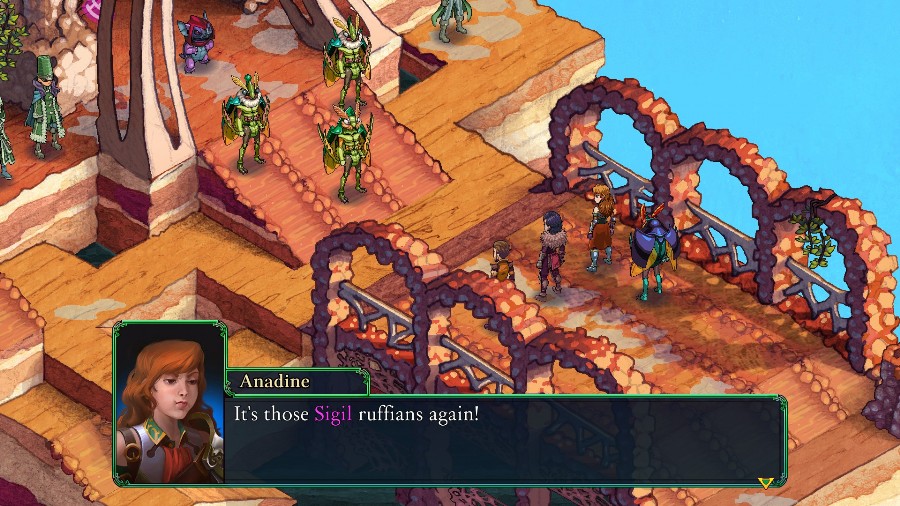
 Even though you’re Sigil members, we won’t give you any trouble. We came for the Pilgrimage, nothing else.
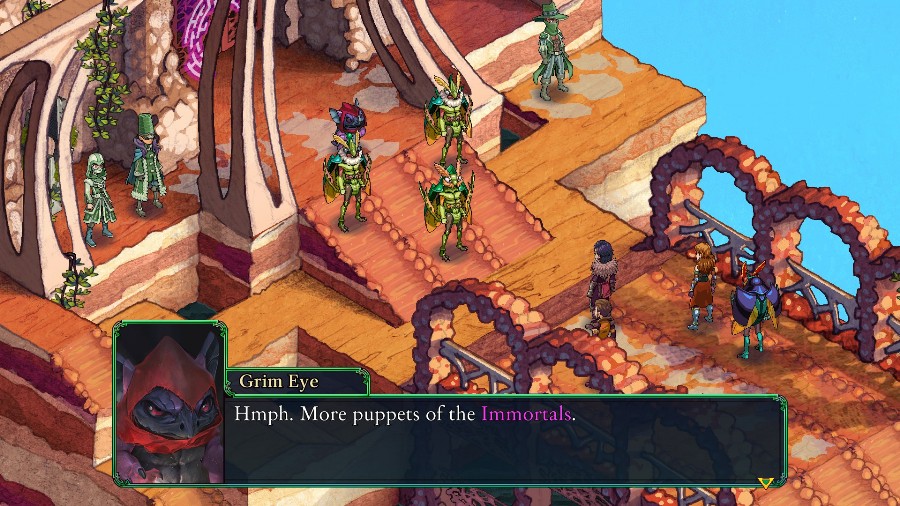
.jpg) Bar them from entering the Temple! I’ll warn Raife.
Bar them from entering the Temple! I’ll warn Raife.
 We have no quarrel with you, friends. Walk away from this now.
.jpg) Ha! You have no friends here, and we don’t take advice from a Bzil who’s sold out to the Council! …
Ha! You have no friends here, and we don’t take advice from a Bzil who’s sold out to the Council! …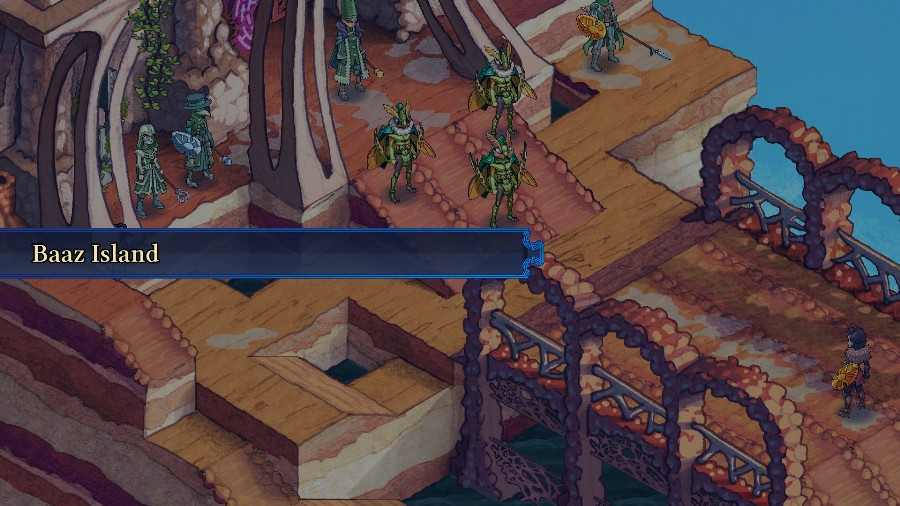
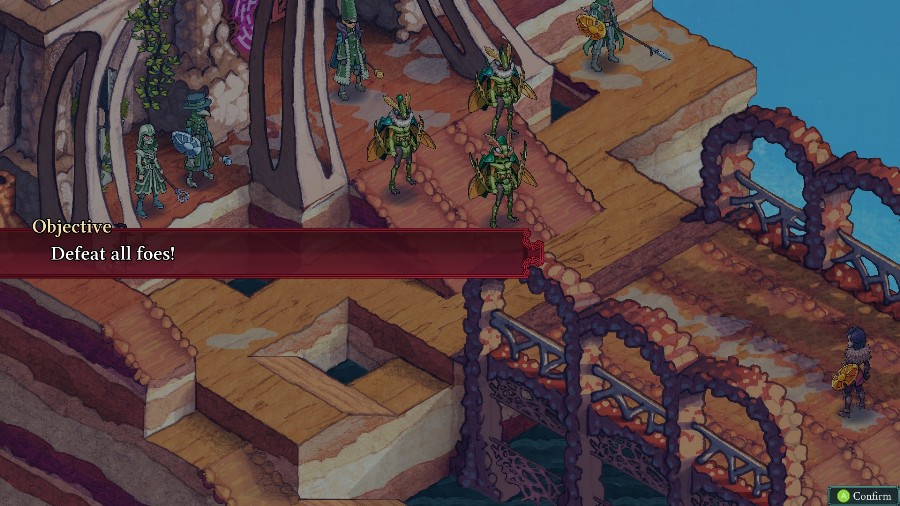
And with that it’s time for a fight.
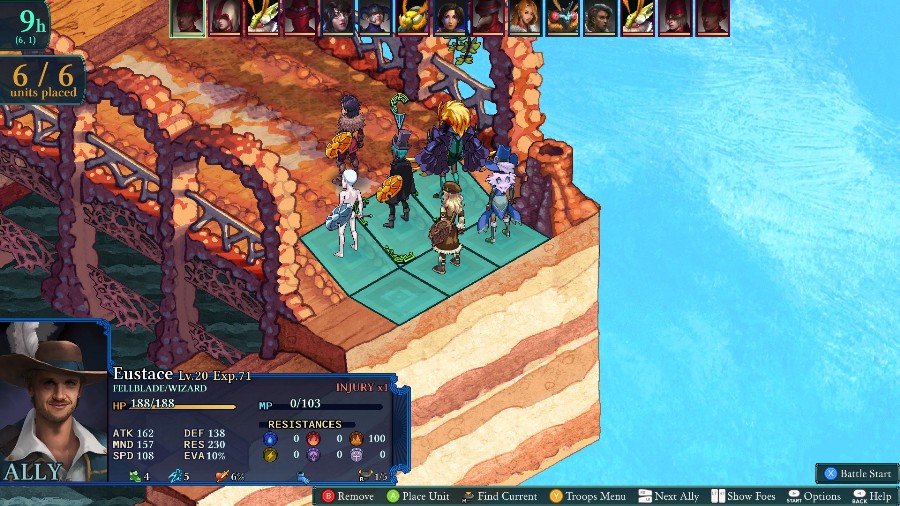
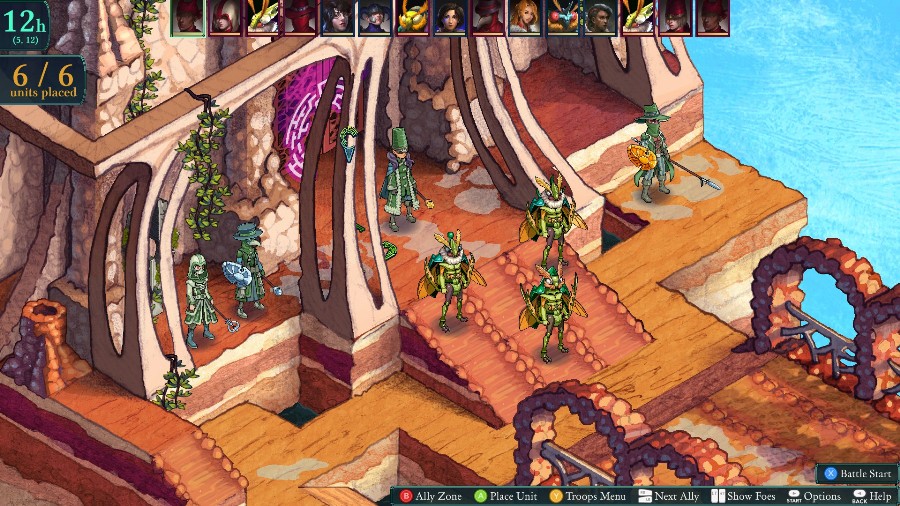
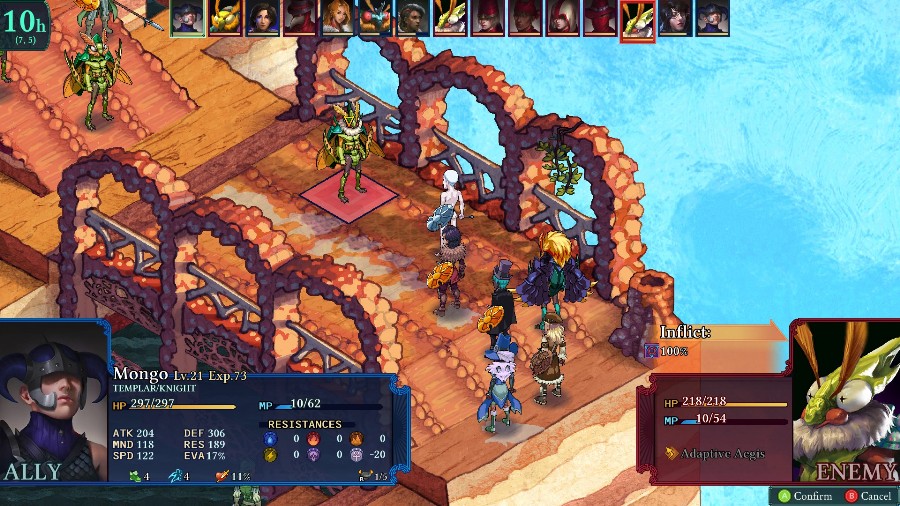
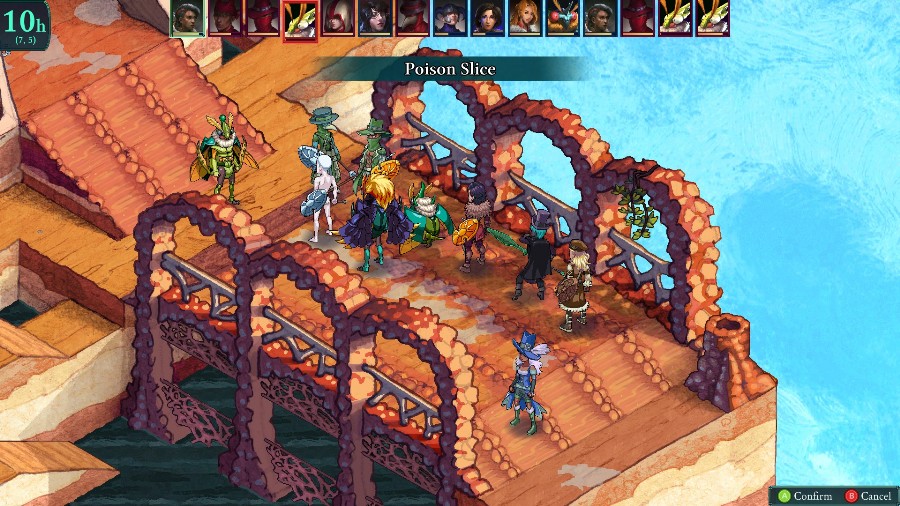
For this fight, I’m bringing Mongo, Selina, Bzaro, Azure, and Sophia. That way I’ll have a solid mix of bulk to keep the enemies bottled up on the bridge, and then have support to keep them up while we grind them down.
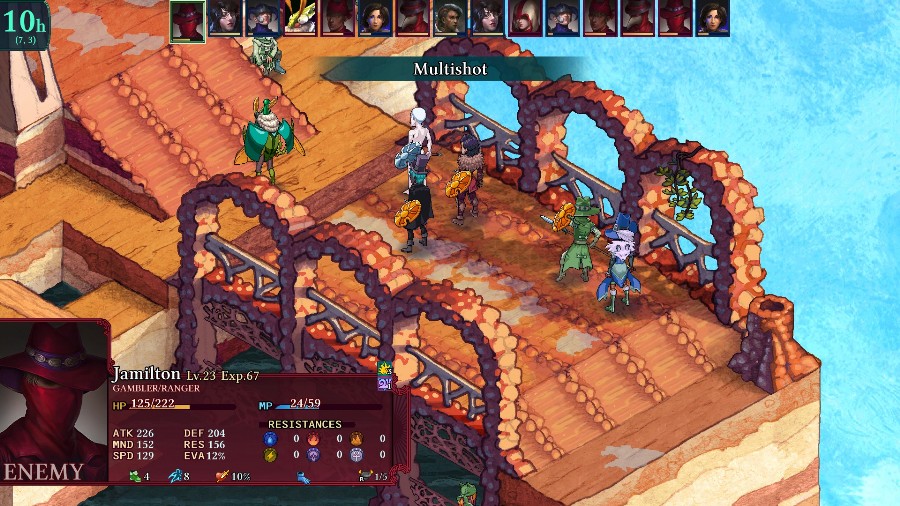
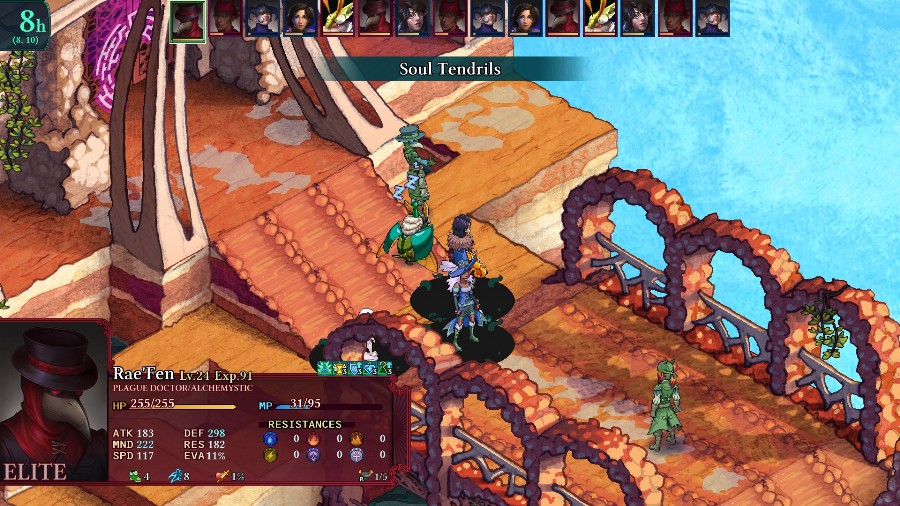
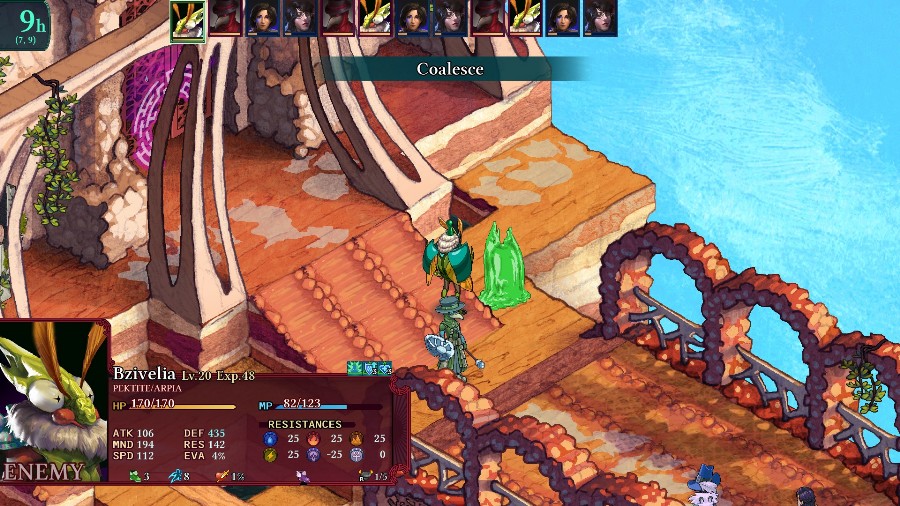
Up against us are 8 enemies. There’s an Alchemystic, a Plague Doctor, a Sorcerer, a Gambler, and 3 different Bzils.
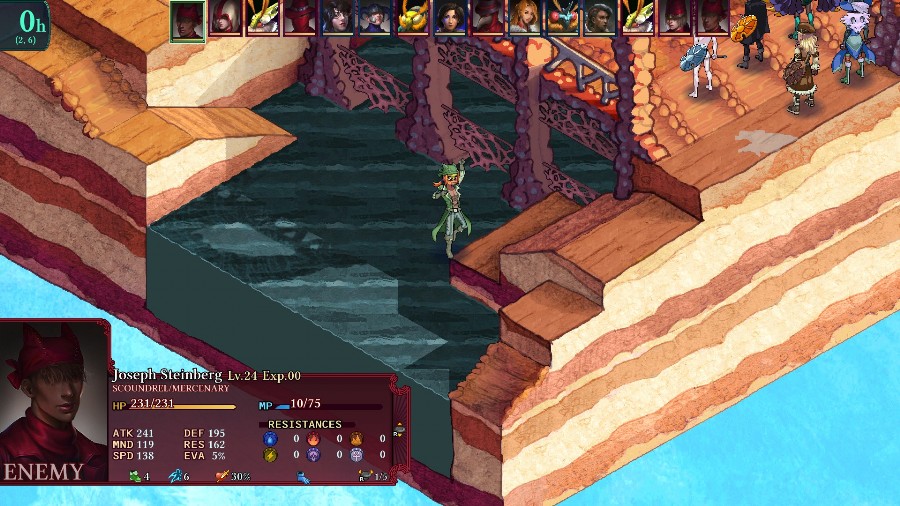
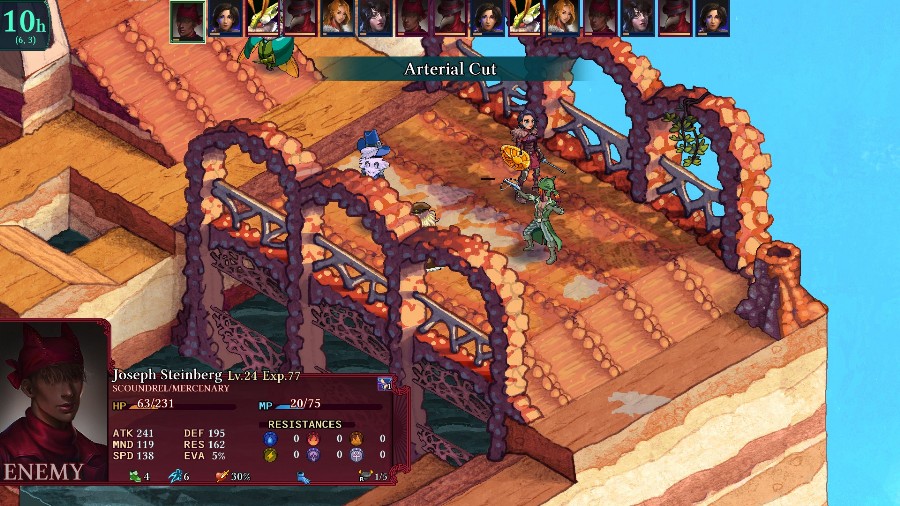
And there’s also this Scoundrel who’d been hiding underwater, who I’d definitely not entirely forgotten.
He pops out and hits Selina for about half of her health off of a crit.
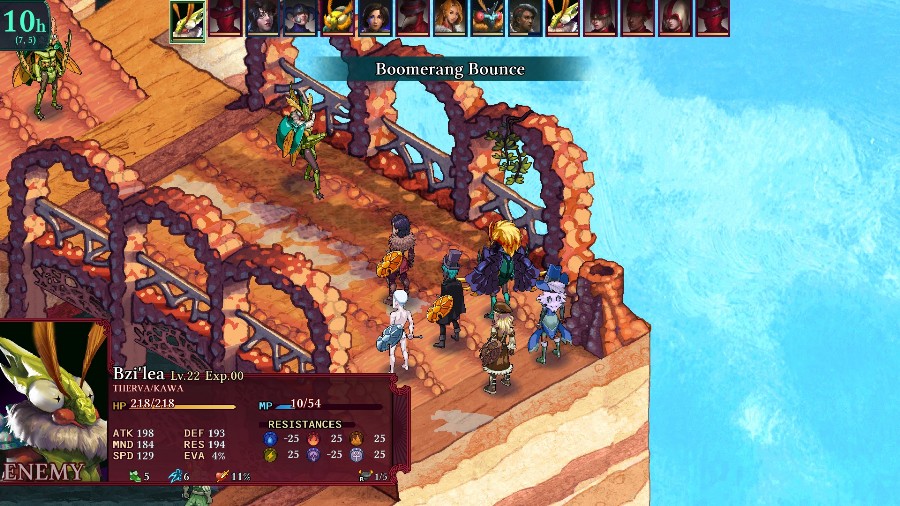
While the other enemies buff themselves up, one of the Bzils advances and whacks Bzaro with a ranged push attack.
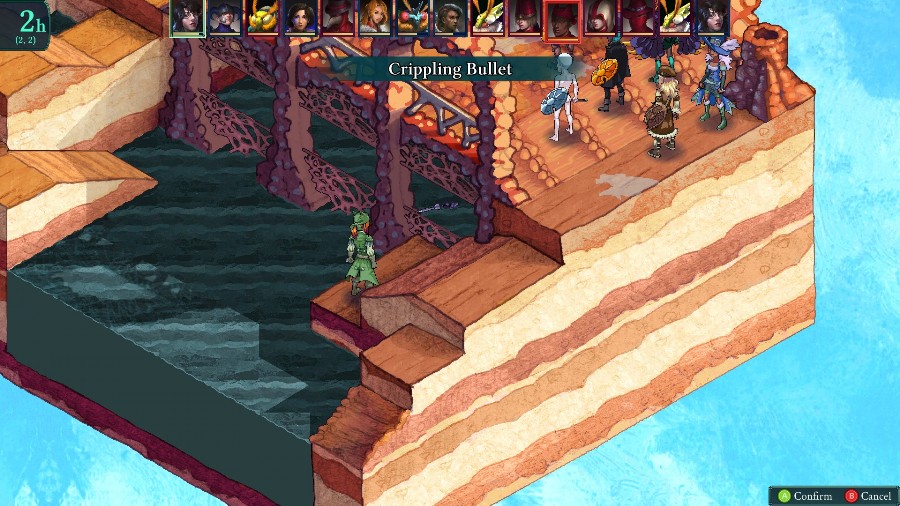
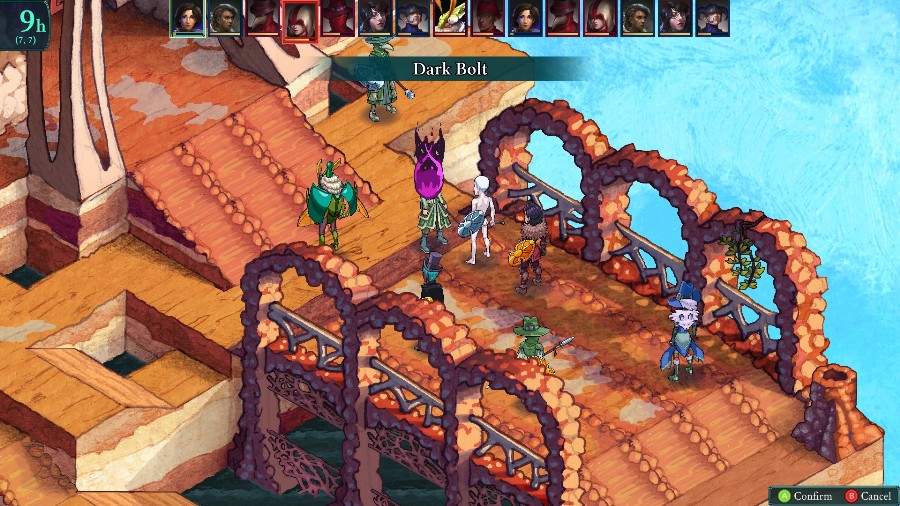
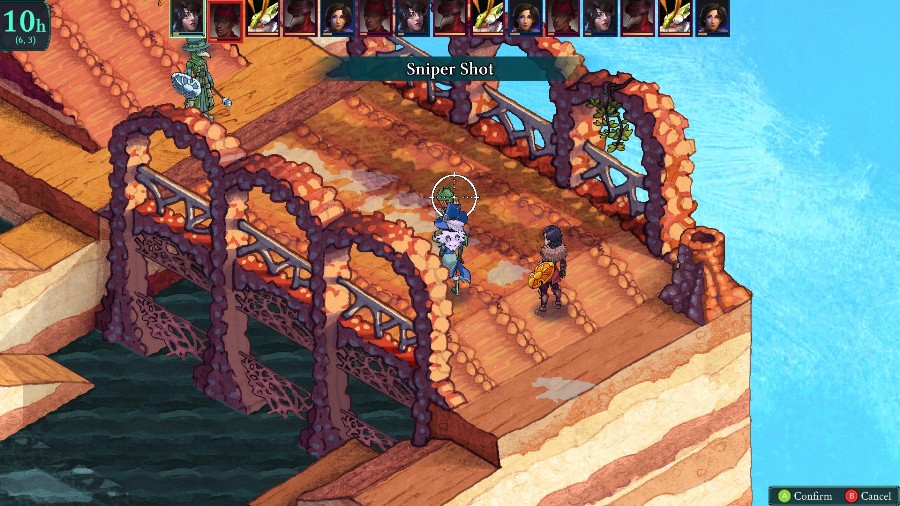
On my first actual move I have Azure cripple the Scoundrel. It does stop him from using any abilities, but doesn’t prevent him from just shooting me in the back (spoiler alert, that’s what he does).
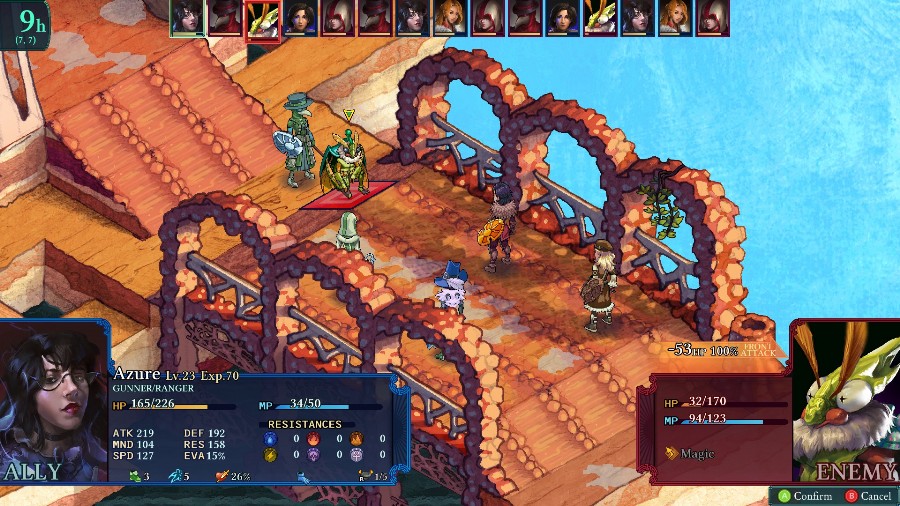
Mongo then berserks the leading Bzil. Being able to essentially take out a threatening enemy with no effort is still so good.

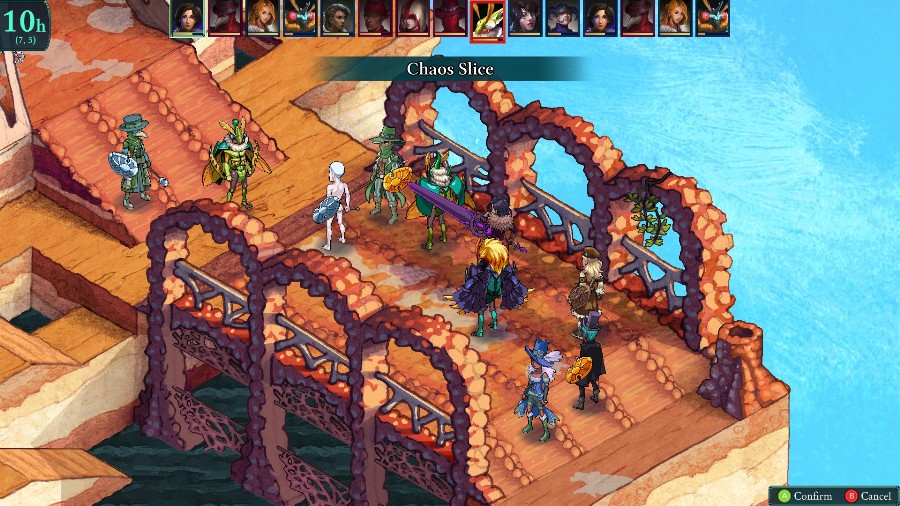
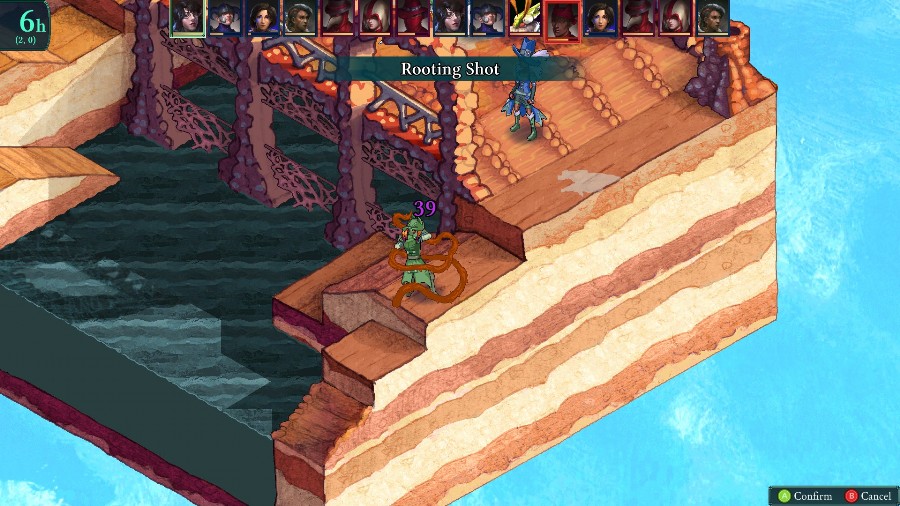
Another Bzil runs up and hits Kyrie with a ranged attack, so she retaliates with a Chaos Slice.

Bzaro and Selina hit and then slow the Scoundrel.
The back enemies keep buffing up, while the berserk Bzil hits his friend and then loses about ¼ of his heal to a counterattack.
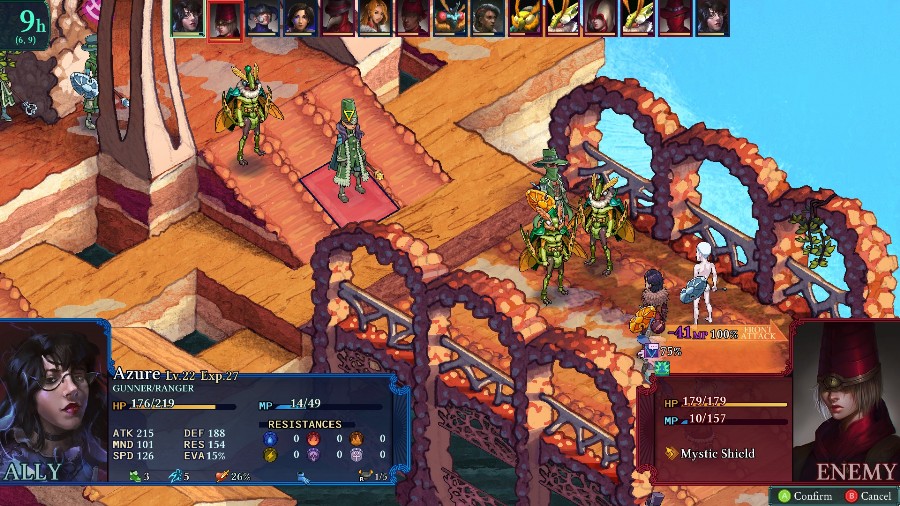
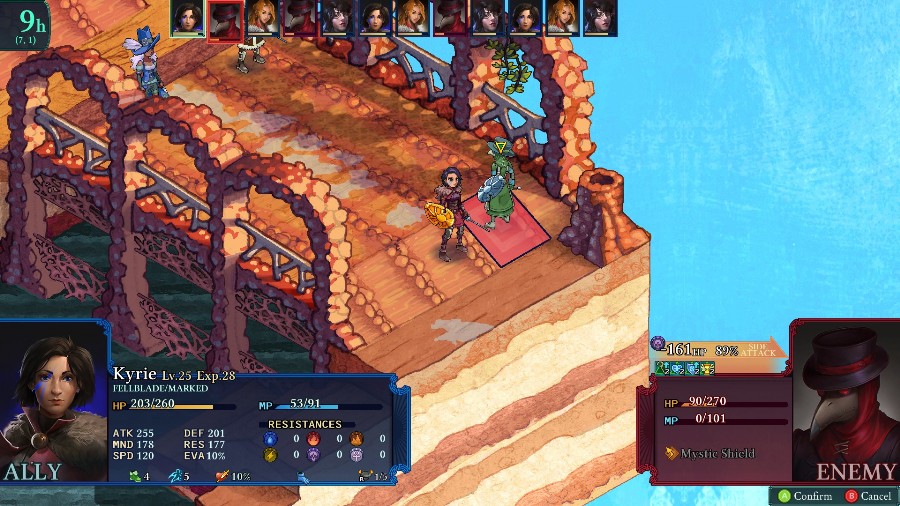
The Sorcerer is a pain to take out due to Mystic Shield, but I still have Azure hit him to prevent him from using a sorcery move.
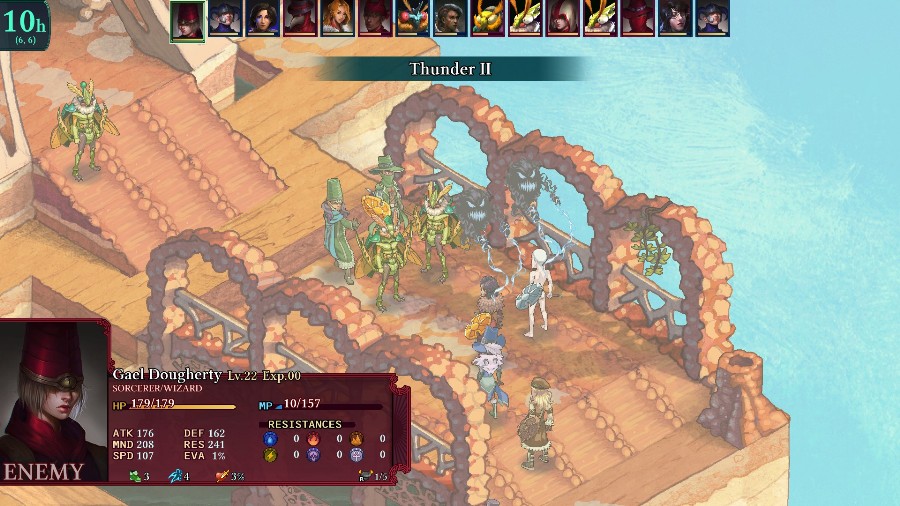
Doesn’t stop him from just zapping my units with a strong thunder hit instead.
Meanwhile Mongo continues his main MO and berserks the gambler.
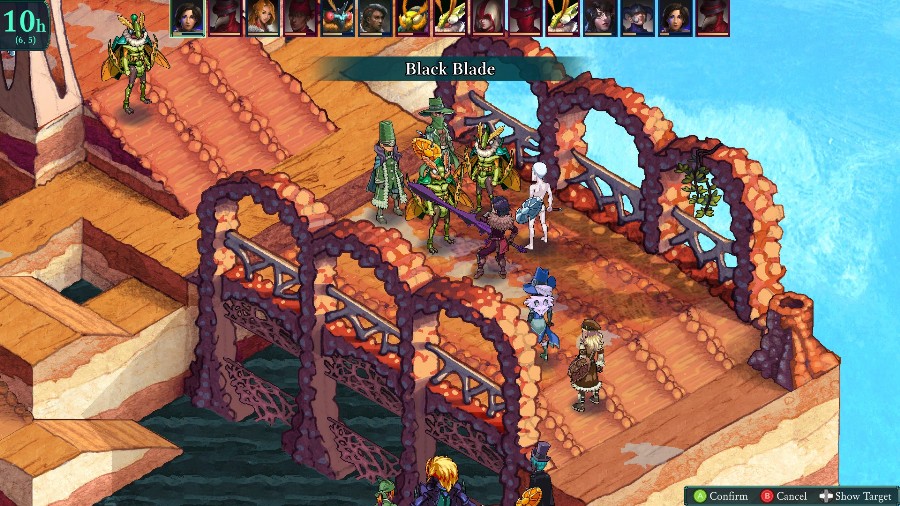
While Kyrie uses Black Blade’s AOE to hit both the Bzil and the Sorcerer. She even dodges the counterattack from the Bzil!
Sophia then heals Kyrie to keep her up.

While the Scoundrel nearly kills Bzaro with a shot to the back.
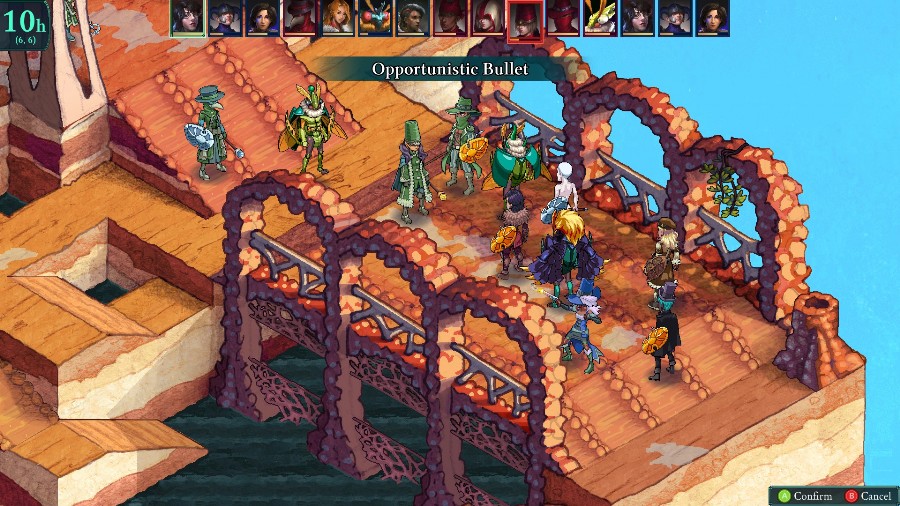
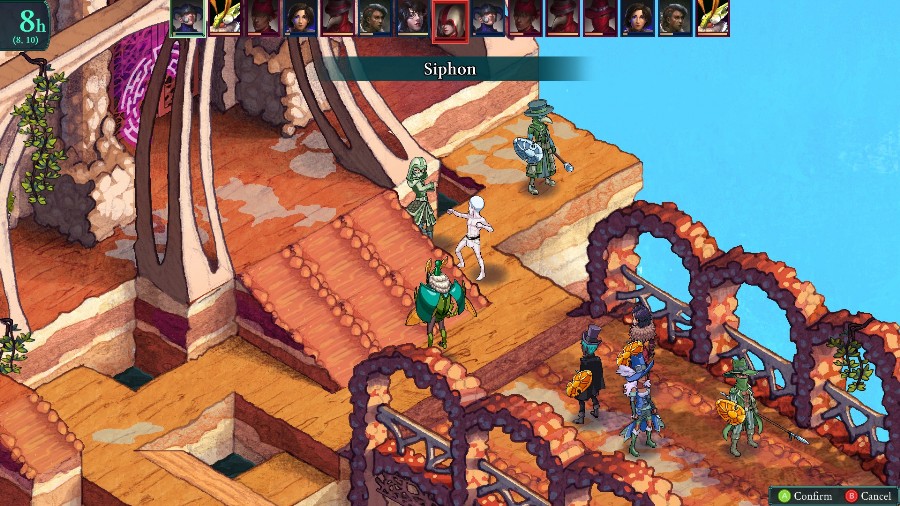
The brawl continues for a bit, with general fighting in the front. Eventually Azure uses an Opportunistic Bullet to kill the Sorcerer.
Kyrie hits the frontmost Bzil with some more debuffs.
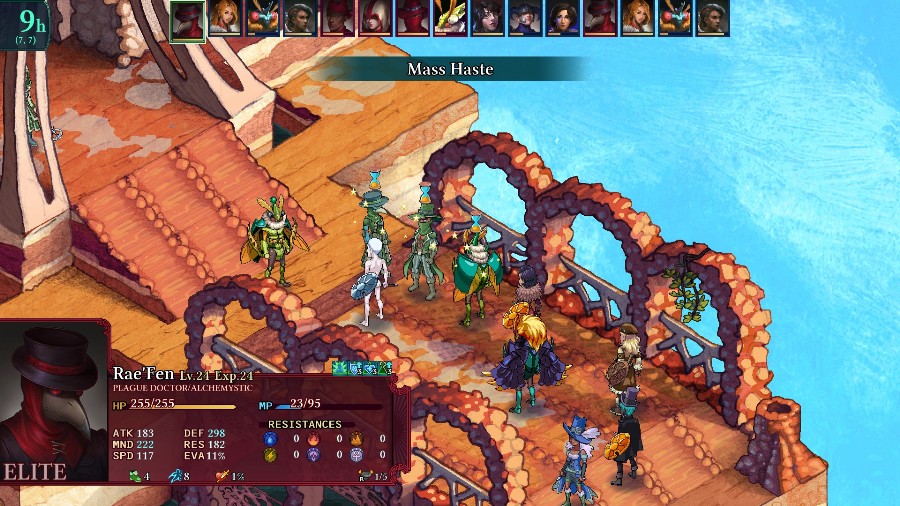
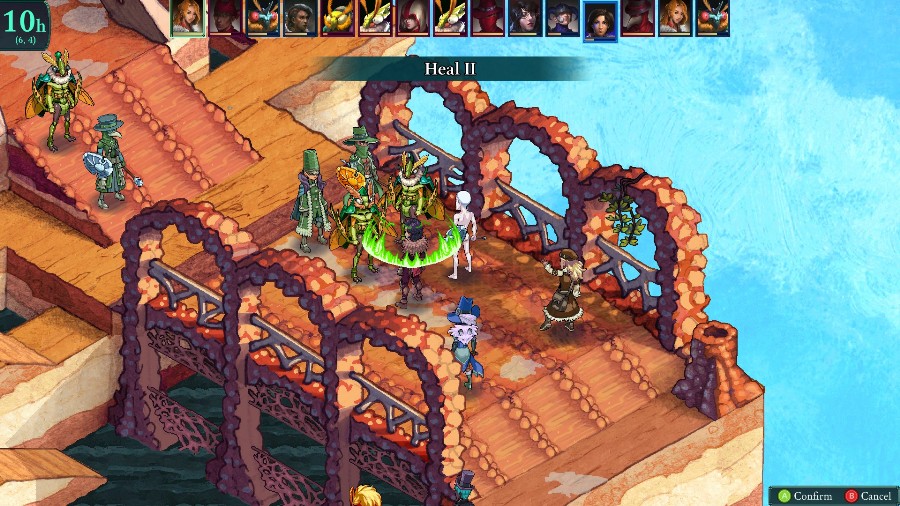
And the Plague Doctor hastes a big group of enemies.
After a hit from Bzaro, Selina takes out the weakened Bzil.
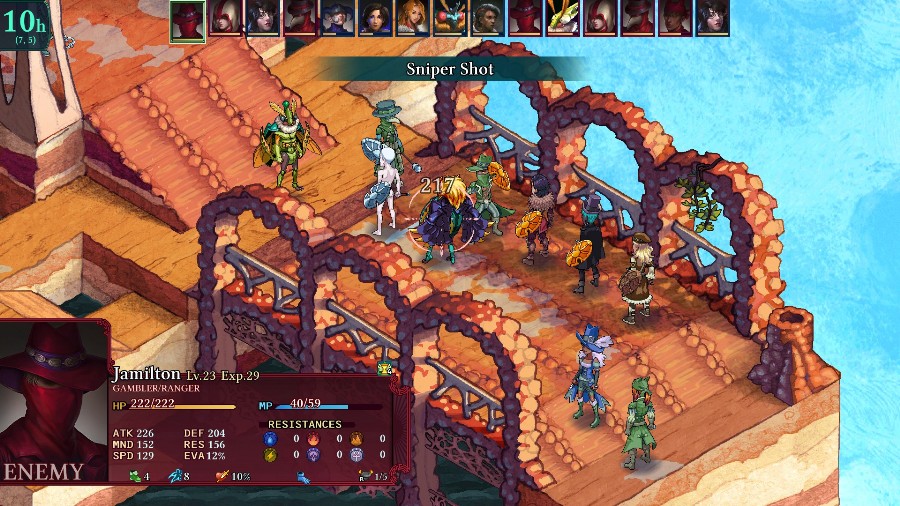
The Scoundrel hits Sophia for over half of her health, and then the Gambler snipes Bzaro with his spear.
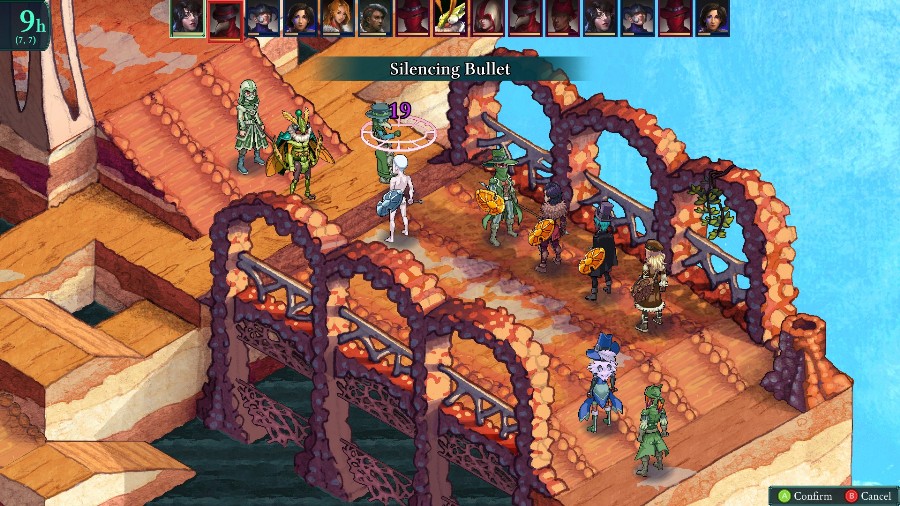
Annoyingly, the Plague Doctor also has Mystic Shield, so he’ll be a pain to take out. He also has a barrier so my silence attempt just uses it up instead.
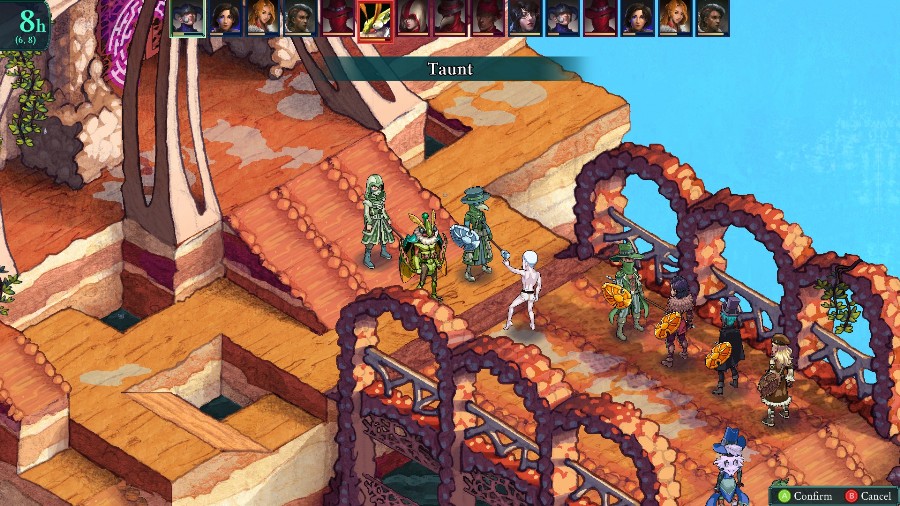
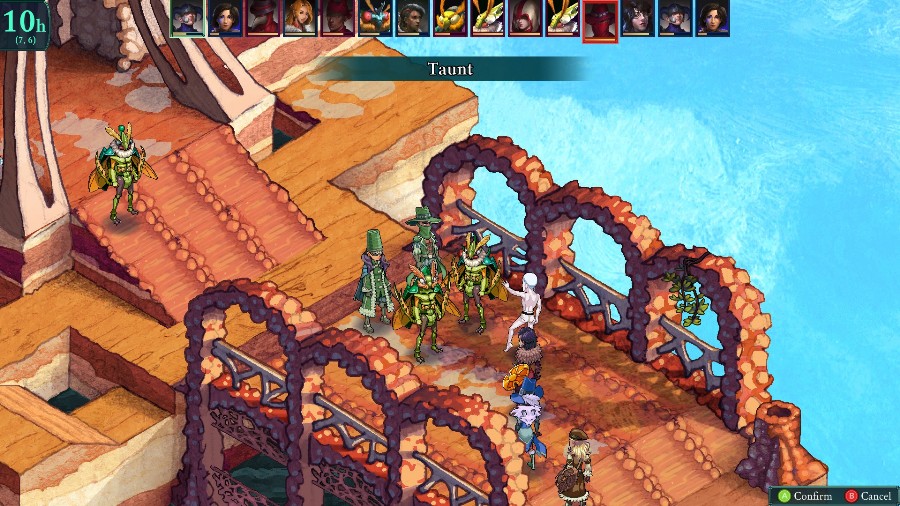
Mongo continues being rude to people and taunts the Bzil.
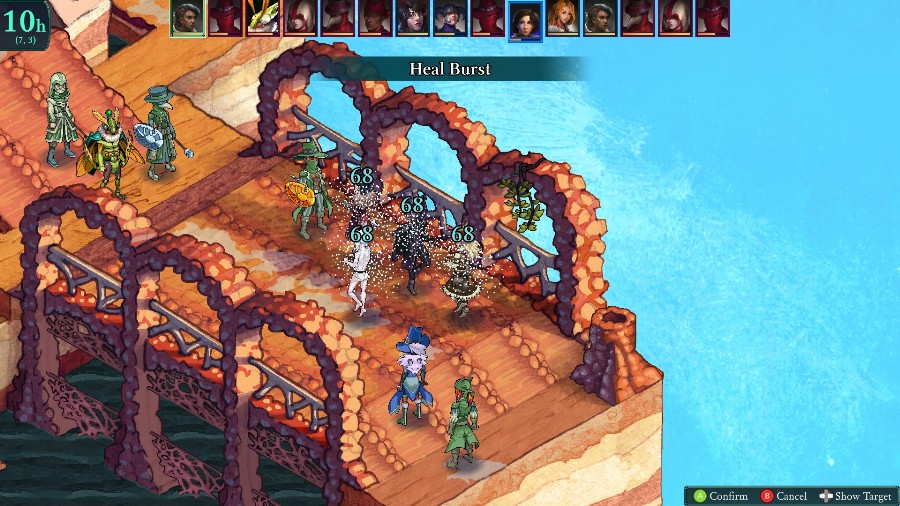
Kyrie hurts herself a lot taking a whack at the Gambler, so I have Sophia and Selina heal her and everyone else up.
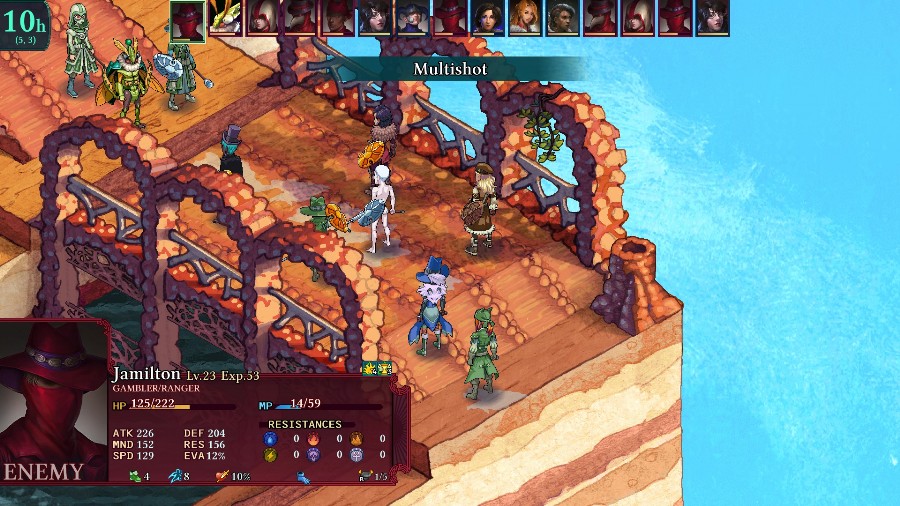
Though the Gambler undoes about half of it with this multishot.
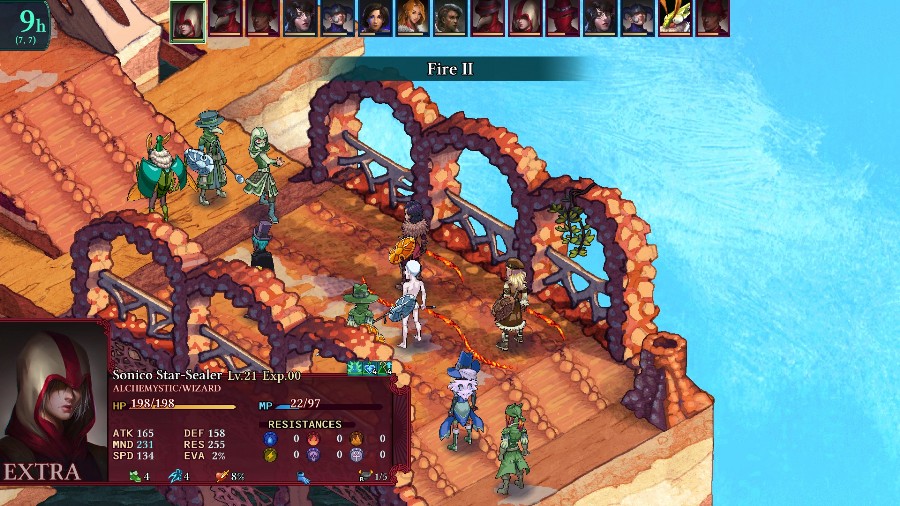
And then the Alchemystic also hits the group and nearly kills Kyrie. The Scoundrel then tries to finish her off but thankfully misses.
The Scoundrel kills Sophia with another crit to the back and then runs off. He is also the 3rd person to have Mystic Shield (explaining why I decided to just debuff him earlier instead of going for the kill).
Back on the bridge, Kyrie and Mongo nearly kill the Alchemystic while Selina uses a heavy potion to keep Kyrie standing.
The Gambler and Alchemystic nearly kill both Mongo and Kyrie with more AOEs.
However, Mongo survives just fine and kills the Alchemystic.
While Kyrie kills the Gambler.
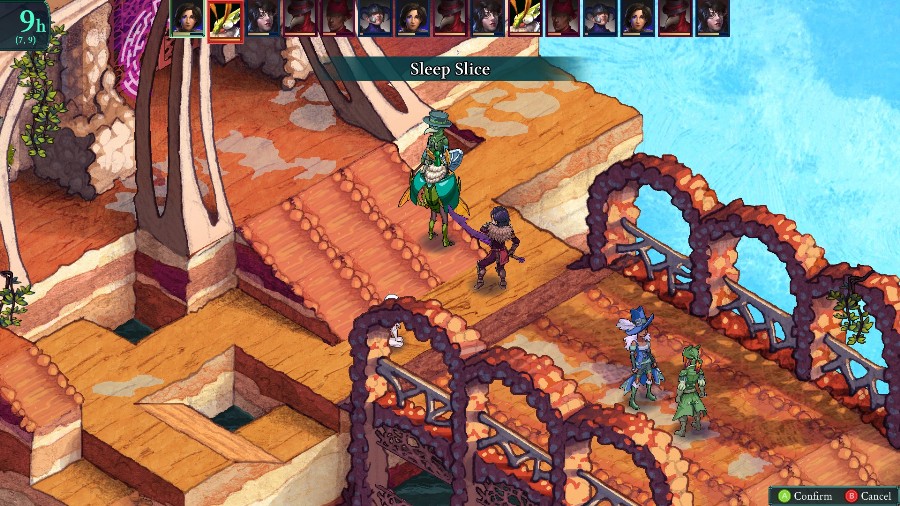
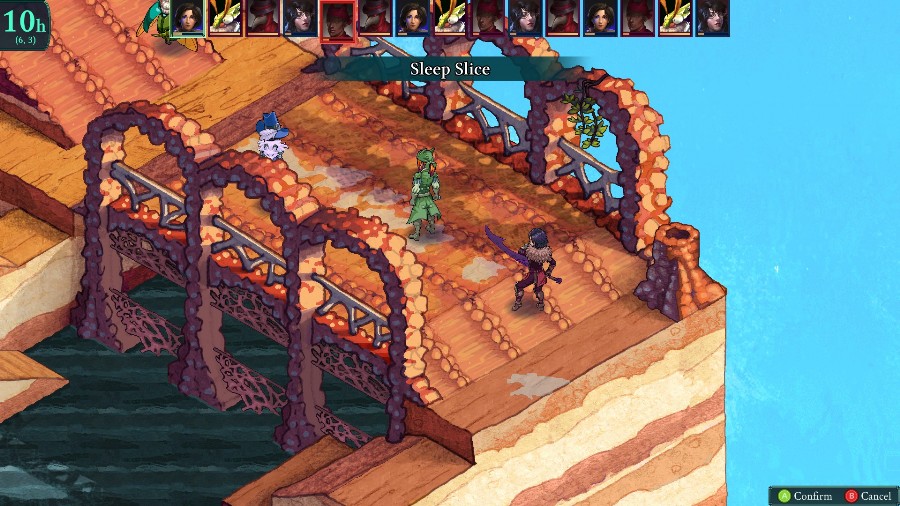
After some more scrambling, Kyrie puts the remaining Bzil to sleep.
And the Plague Doctor finally does something offensively when he kills Mongo.

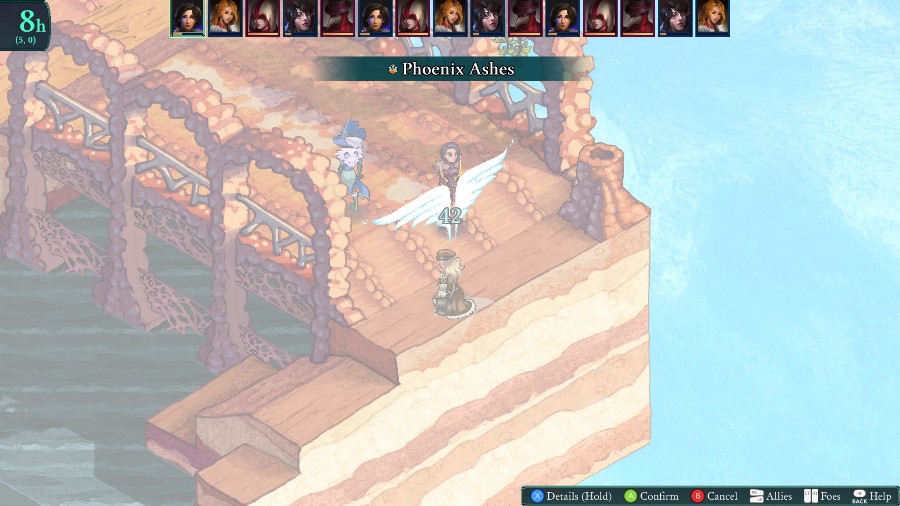
Since it’s 2 on 3 and I have no healing, I have Azure revive Sophia. No one would be able to move any earlier than she could, and on the off chance that she survives I’d be in the clear.
But she doesn’t.
Getting quite annoyed with this Scoundrel, I have Kyrie whack him to get rid of his shield.
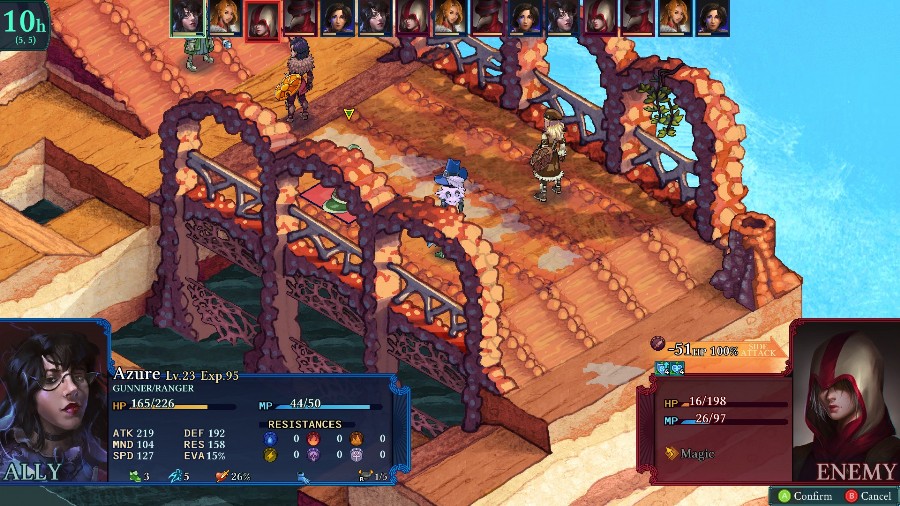
While Azure finally kills him with a snipe to the back.
The Bzil is incredibly annoying and revives the Alchemystic.
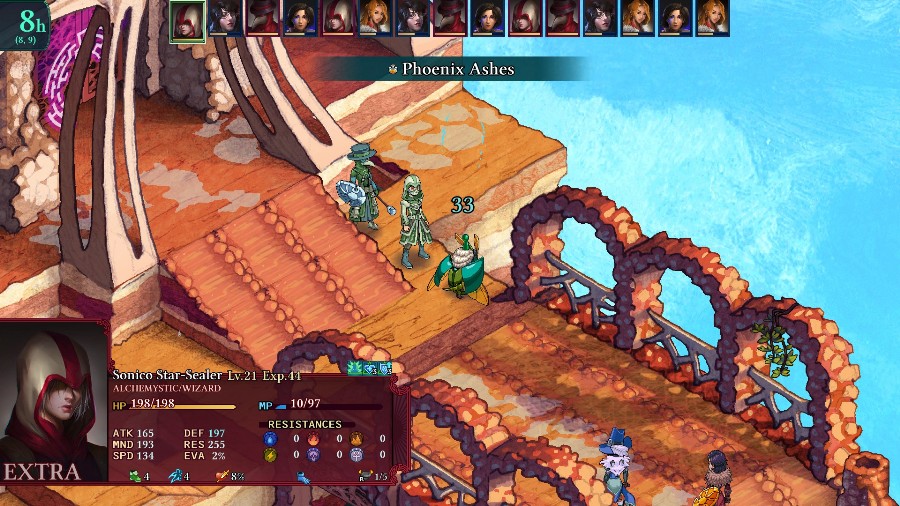
While I have Kyrie revive Sophia again. She then heals everyone, to pull us a bit back from the edge.
The enemies are also reviving people, getting back one of the Bzil.
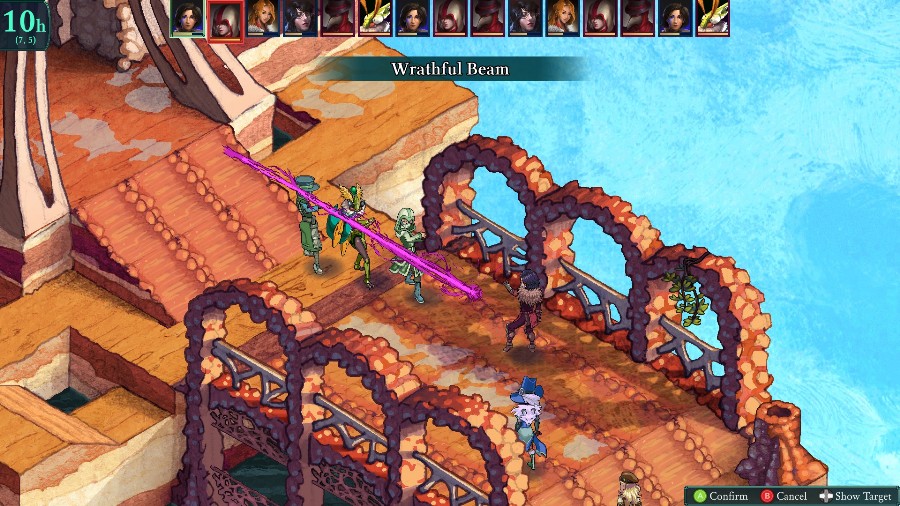
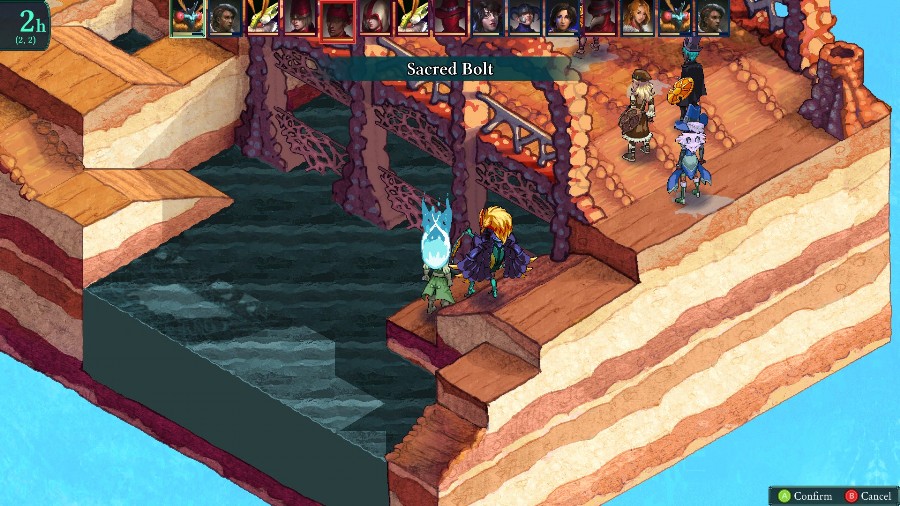
After more annoying healing, Kyrie takes advantage of the beam to hit every one of the enemies.
Soon after, Azure kills the Bzil again. After this, there’s just a lot of whacking 2 enemies that keep healing and buffing each other for quite a while.
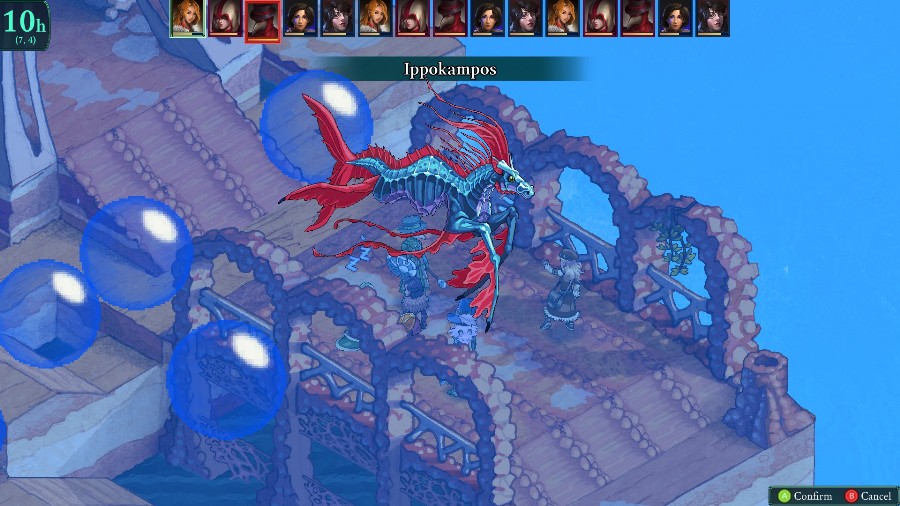
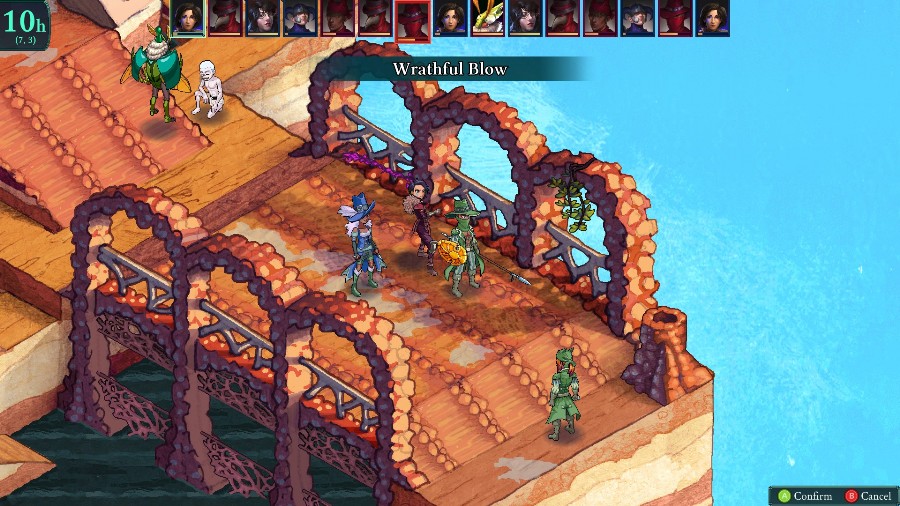
I do get to show another Vessel skill off though.
Eventually Azure is able to kill the Alchemystic again.
And Kyrie kills the Plague Doctor.
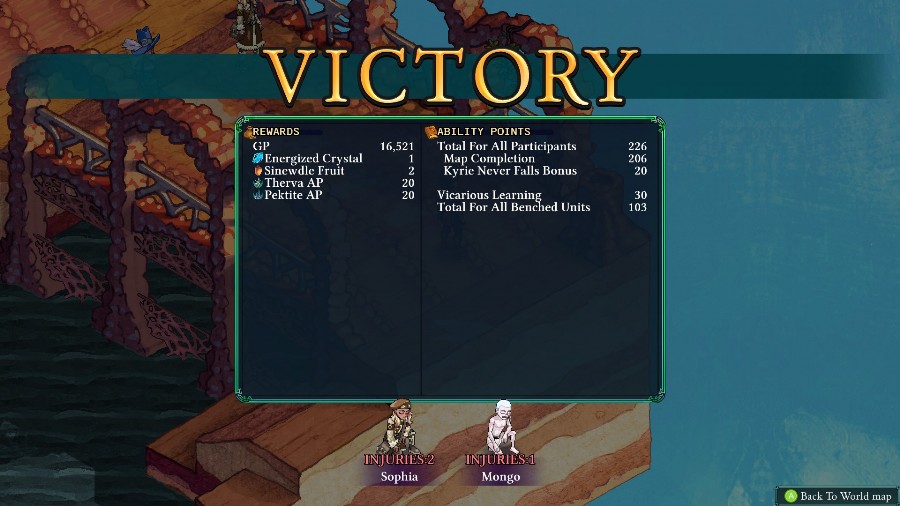
Definitely not my best showing. I think I mostly had trouble because so many enemies had Mystic Shield, so I couldn’t thin the field nearly as quickly as I wanted to. Still, I managed to pull it off in the end, so I’m not too miffed.
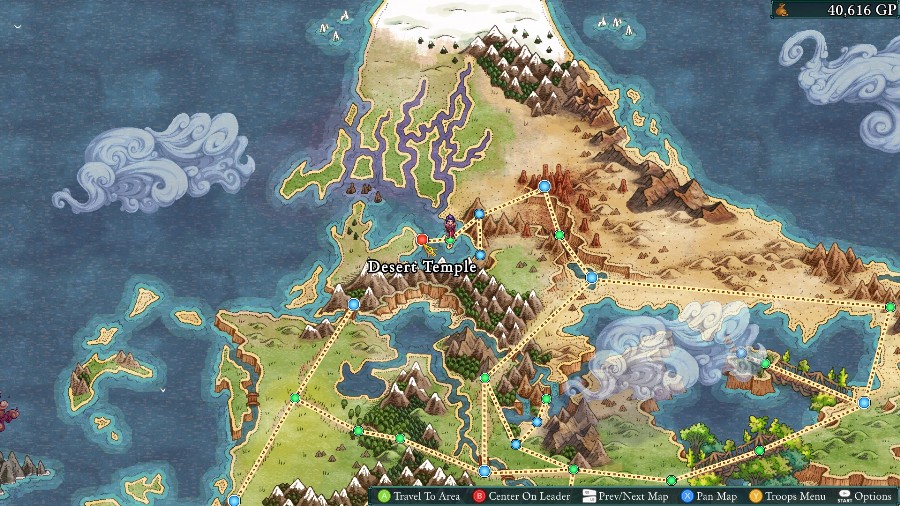
There’s no cutscene afterwards, so we‘re just popped right back onto the map. Now that we’ve fought our way to its doors, next time we’ll finally be investigating our third Temple!